When it comes to pizza dough and toppings, homemade trumps delivery for one simple reason: LOVE. The care that goes into making each pizza dough from scratch – from the perfectly crisp crust to the fresh toppings – adds a personal touch that no corporate pizza can match.
Watch how to make pizza dough:
Table of Contents
Hungry for a slice of cheesy, saucy pizza perfection? After the recipe, I’m going to take you on a journey through the history of pizza making, from its humble Italian beginnings to the modern pizzas we all know and love today.
Read more after the recipe, that’s what you’re here for, right? The text about pizza is just a bonus if you are interested 😉
What is basic pizza dough made of?
The pizza dough recipe uses only 4 ingredients, flour, salt, honey(optional), and yeast, but you can customize your pizza dough by adding herbs or cheese to the crust. This is why you should try this recipe.
Let’s unleash our inner pizzaiolo and make pizzas to rival the best restaurants. Because now you’re in charge of your pizza!
Perfect Pizza Dough – 4 Ingredients Only
Difficulty: Easy2
servings10
minutesWhen it comes to pizza dough and toppings, homemade trumps delivery for one simple reason: LOVE. The care that goes into making each pizza dough from scratch – from the perfectly crisp crust to the fresh toppings – adds a personal touch that no corporate pizza can match.
Ingredients
7g (1 packet) of active dry yeast
around 500g all-purpose flour (I always use Spelt flour)
1 teaspoon salt
1 tablespoon honey
300ml(1.25 cup) warm water (approximately 110°F / 45°C)
Directions
- In a bowl, combine the warm water and honey. Stir until the honey is dissolved. Sprinkle the yeast over the water and let it sit for about 5 minutes, or until it becomes frothy. This indicates that the yeast is active.
- Start adding all-purpose flour, a couple of spoonfuls at a time. Add salt. Use a wooden spoon or your hands to mix.
Keep adding flour and mixing until you get a wet, sticky dough that is separating from the bowl. Beat it well to activate the gluten and hold the dough together. - First Rise: Cover the bowl with a damp cloth, plastic wrap, or any cover you have for your bowl. Allow the dough to rise in a warm, draft-free area for about 2 to 3 hours or until it doubles in size.
- If you have a bubbly, doubled in size dough, add more flour to the dough and beat it again with your hand or a wooden spoon. Keep adding flour, spoonful at a time, and mix until you get a firm dough. How to recognize when you have enough flour? The dough is elastic and not sticking to the bowl.
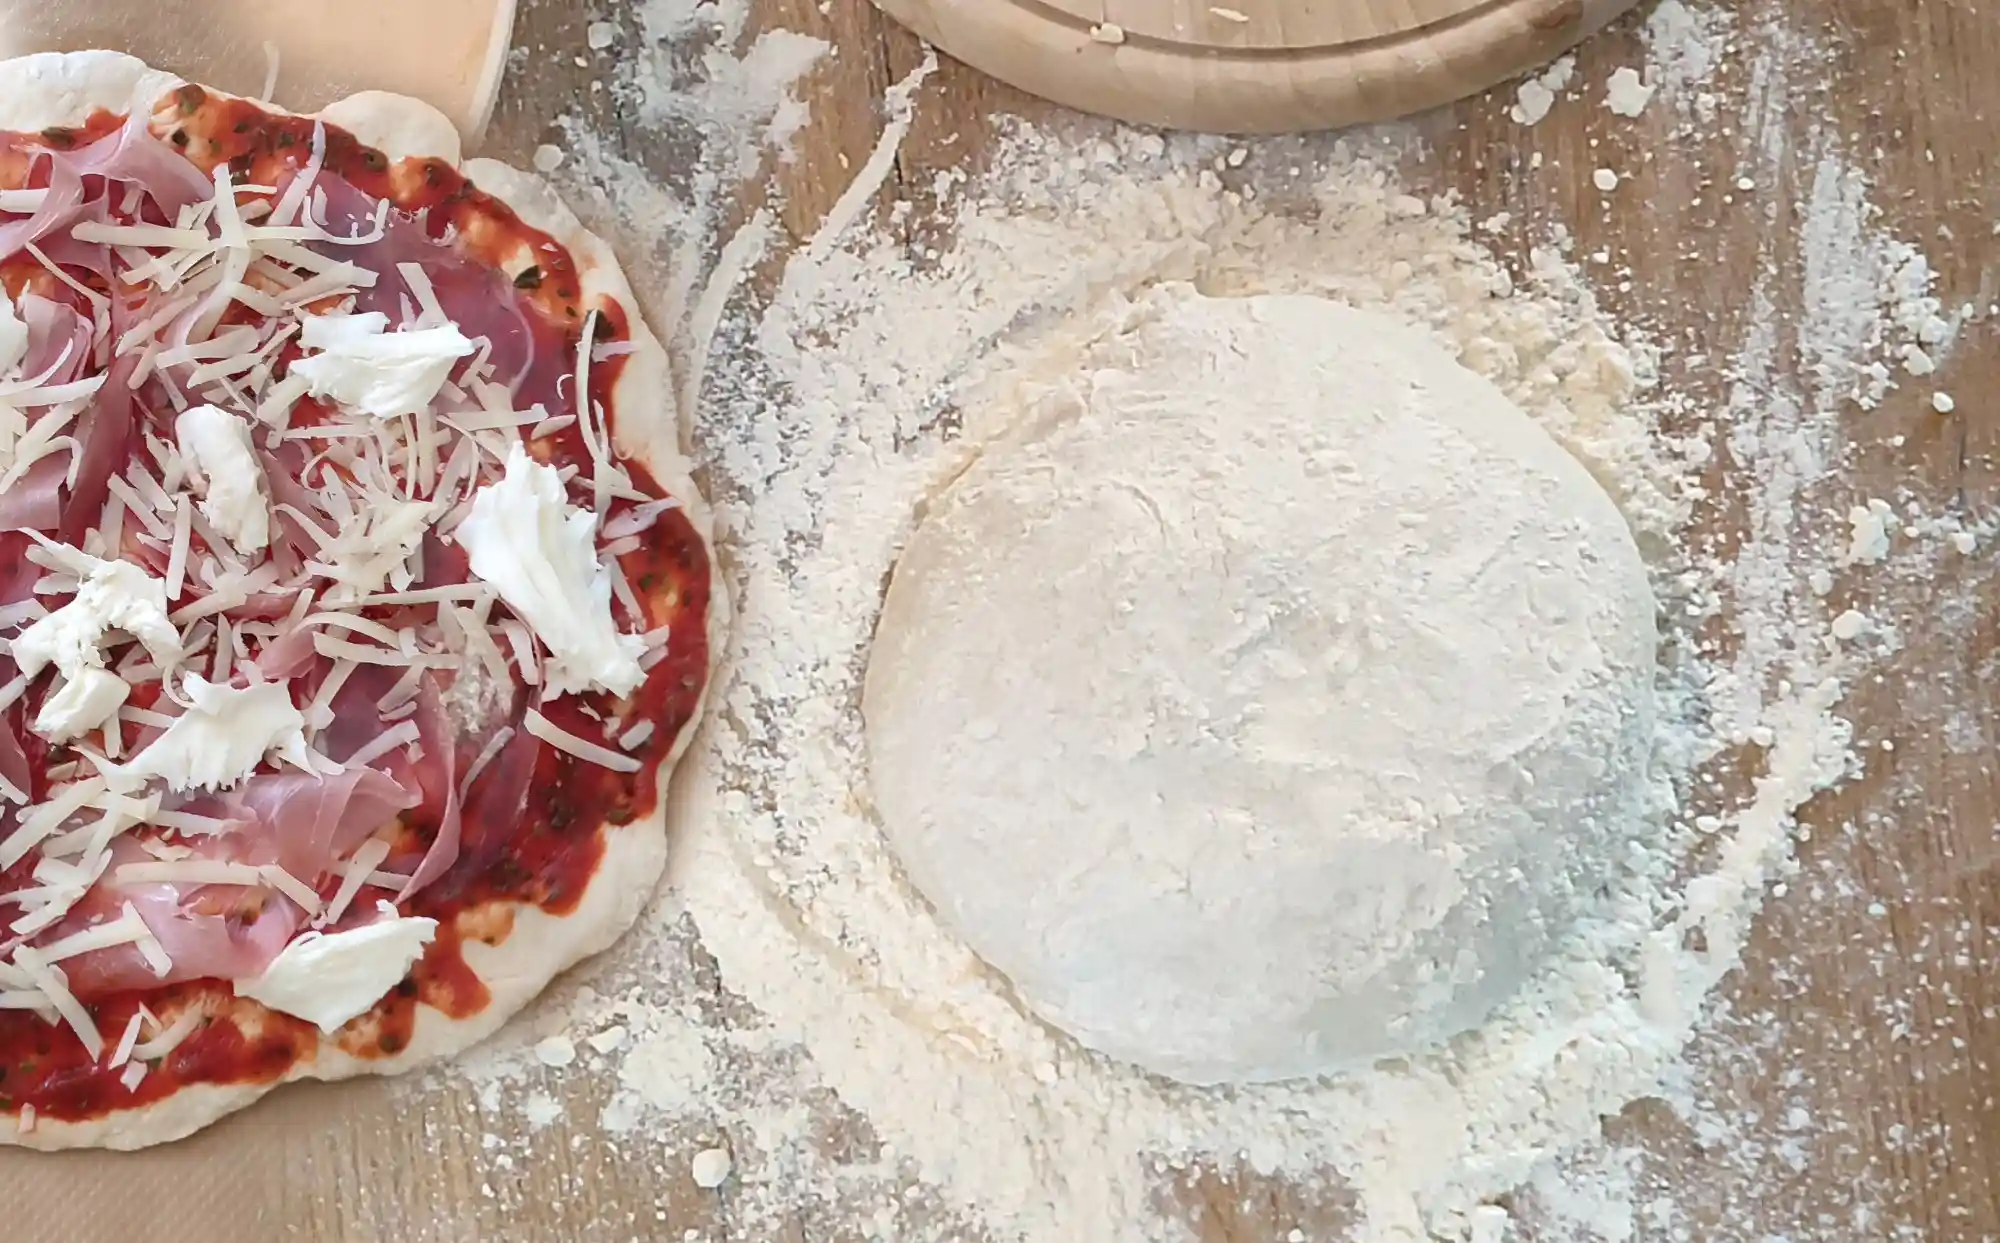
- Transfer the dough onto a clean, floured surface and begin kneading it.
Gently lift one side of the dough and fold it over the center of the dough. Lift the opposite side of the dough and fold it over the center again. Rotate the dough 180 degrees.
After a few rounds of folding and rotating, the dough should start becoming smoother and more elastic.
Repeat the process until you get firm dough that can be lifted. Now, you can lift the dough from the surface and start kneading it in your hands. Tuck and squeeze the dough, folding it onto itself repeatedly. Rotate, repeat. Continue kneading for about 10 minutes or until the dough becomes smooth and elastic. Every time the dough starts to stick to your hands, add a little bit more flour over it or put some flour on your hands, and continue kneading. Any technique is good. Trust me, as long as you keep kneading it, there is no worry that you’ll do it wrongHow to recognize when you have enough flour? The dough is elastic, not sticking to your hands, holds its form, and feels silky and firm. - Second Rise: Cover the dough on your kitchen table and allow it to rise for the next 1 to 1.5hour or until it doubles in size.
- Once it has risen, add more flour over it and knead it shortly to activate the gluten again. Form the same firmness of the dough as before.
- Divide the dough into equal-sized pieces. This amount of dough is enough for 2 normal-sized pizzas. I always do 3 smaller to put different toppings on, but you decide how you prefer.
- Third Rise: Shape each portion into a ball and cover them. Leave all parts of the dough to rest and rise a bit more for the third time while you prepare the toppings. 10-15 minutes will be enough.
- Preheat your oven to the highest temperature possible, typically around 500°F (260°C). If you have a Pizza Stone or baking steel, place it on the middle rack and heat the stone together with the oven. If you don’t have a Pizza Stone, put your pizza Baking Tray upside down in the oven and preheat it together with the oven to 500°F (260°C). Place your pizza directly onto the Baking Tray.
- Shape the Dough: Take one dough ball and, using your hands, shape it into a round pizza crust. You can make it as thin or thick as you like. If you prefer a thinner crust, stretch the dough gently using your hands.
- Once you have shaped the pizza dough, transfer it to a baking sheet(baking sheet is optional, for me it is easier to transfer the pizza on to the stone).
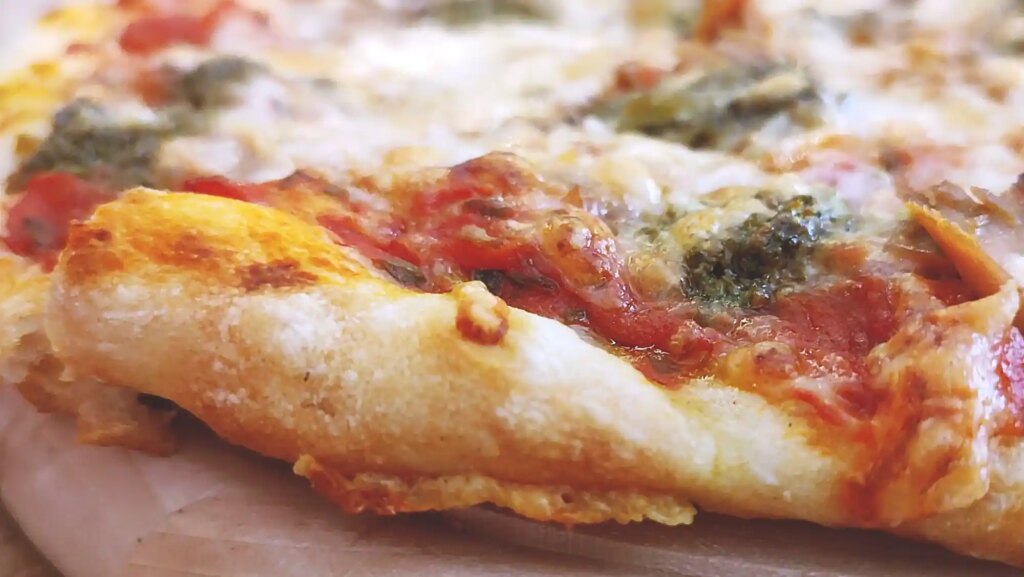
Add your favorite pizza sauce, cheese, and toppings. - Bake the pizza for about 2 min, then take out baking sheet. Continue baking for another 4-7 minutes, or until the crust turns golden brown and the cheese is bubbly and slightly browned.
- Repeat the rolling, topping, and baking process with the second (and third) dough ball.
- Enjoy your delicious homemade pizza!
Recipe Video
Notes
- You can customize this pizza dough recipe by adding herbs, garlic powder, or other seasonings to the dough before kneading. Additionally, feel free to experiment with different toppings to create your favorite pizza combinations.
- If you don’t have a Pizza Stone: Put your Pizza Baking Tray upside down in the oven and preheat it together with the oven to 500°F (260°C). Place your Pizza directly onto the Baking Tray. It will not be exactly the same as with a Pizza Stone, but it is close enough.
If you love Hawaiian pizza, you can use the homemade pizza dough to make these easy and delicious Hawaiian Pizza Crescent Rolls from When Is Dinner.
If you don’t like kneading the dough with your hands, try this Kitchenaid pizza dough recipe form Baby Savers.
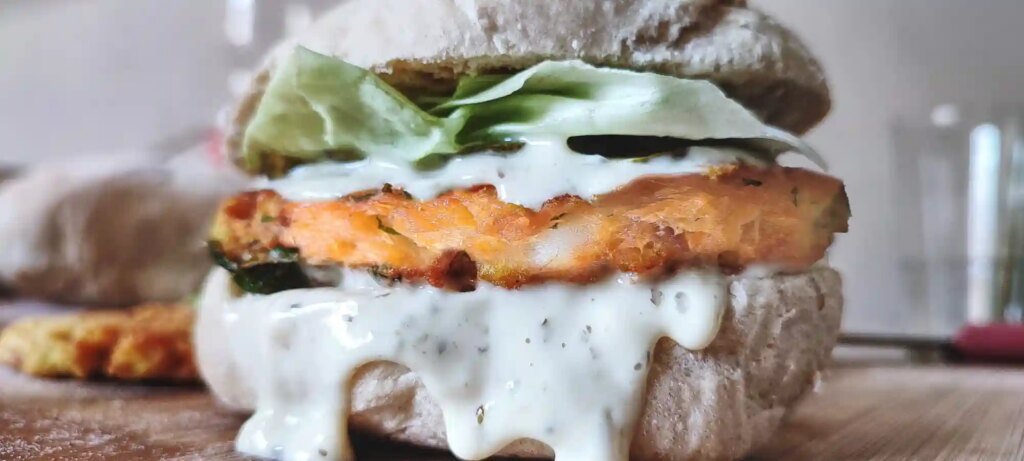
Check this out. Pizza dough disguised as a turbo tasty Mediterranean Homemade Salmon Burger
Amazing Homemade Salmon Burger with Tartar Sauce
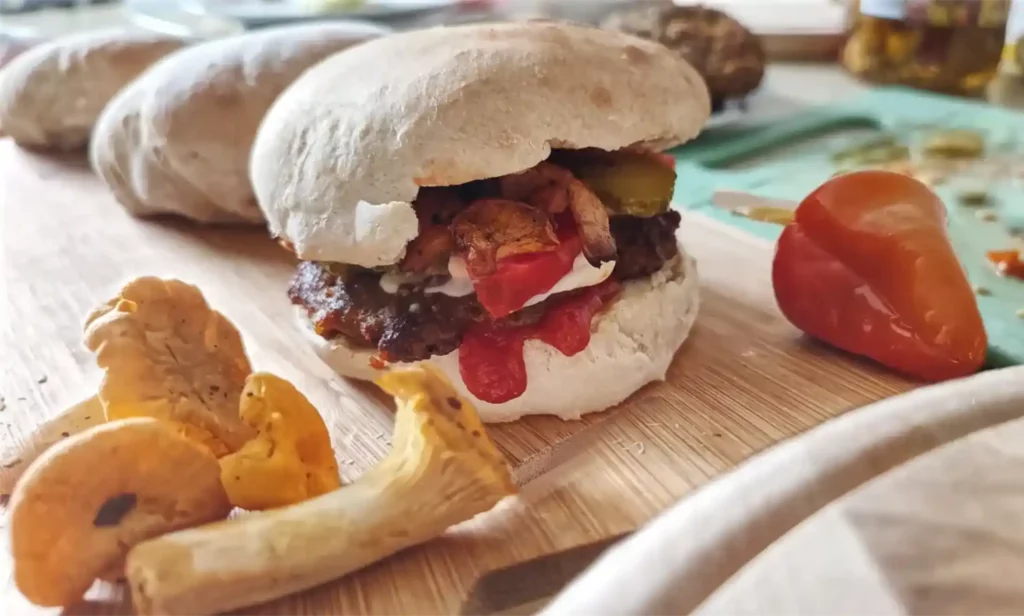
Check this out. Pizza dough disguised as a turbo tasty Homemade Hamburger.
Homemade Hamburger Patty Without Egg – Easy Homemade Burger
Pizza Dough Topping

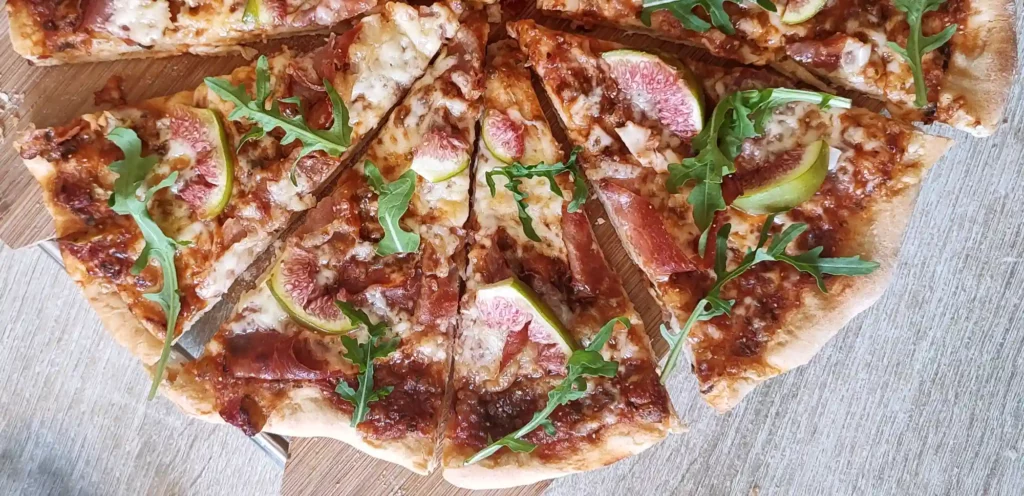
The most basic pizza dough topping is crushed tomatoes, oregano, basil and cheese. But you can put all kinds of toppings on this pizza dough and it will all taste great. Soon some more “unusual” topping ideas with wild edibles 😉
Why is Italian pizza dough so good?
The secret of why Italian pizza dough is so bloody delicious. Spoiler alert: it’s all about fermentation.
You see, Italian pizzaiolos know that proper, slow fermentation is the key to dough that’s soft, airy and downright delicious. They let the dough rise for several hours, even days. I know it sounds tedious – but trust me, this long fermentation is the key. Real pizzaiolos lovingly stretch and shape each crust by hand. Blasphemous, right? It’s almost too sensual for family-friendly pizza making! But it does produce a beautifully thin, evenly charred crust. No droopy centers or weird bulges in sight. Bellissimo!
Magical crispy crusts are only possible with a blazing hot oven. That’s why we use a Pizza Stone or my trick with the upside-down baking tray.
My recipe captures the perfect alchemy of time, technique and temperature. When you try this pizza dough, any topping will work, soon you’ll be thinking: “Dominos who?
Pizza Dough History
Pizza has a long history spanning many centuries. Its origins can be traced back to the Stone Age, when ancient peoples made primitive flatbreads by baking crushed grains and water on hot stones or over fires. Later, in the 1st-5th centuries, the Romans have recipes for flatbread and even recipes for what we know today as pizza. In the 5th century, Greek soldiers on long expeditions took flatbreads with various ingredients to stave off hunger.
But it was in Italy that pizza as we know it today became popular. At first, it was considered “poor people’s food”, made with whatever toppings were available on a simple flatbread. An oft-repeated story is that of the Pizza Margherita. Legend has it that when King Umberto I and Queen Margherita visited Naples in 1889, they invited a famous local pizza chef to prepare his speciality. He presented three varieties, and the Queen favoured the one with tomato, mozzarella and basil – now called Pizza Margherita in her honour.
When Italian immigrants brought pizza recipes to American cities like New York and Chicago in the early 20th century, it evolved into a heartier meal. American-style pizza meant bigger slices, extra cheese and heartier toppings like pepperoni, sausage and vegetables.
But the biggest development? The rise of pizza delivery chains in the 1960s, which brought the convenience of pizza to your doorstep. No more waiting in restaurants for a table.
Today, pizza remains a staple meal for many – a Friday night treat, party food and hangover cure.
And a culinary challenge for us 😉
It’s always a good time for pizza
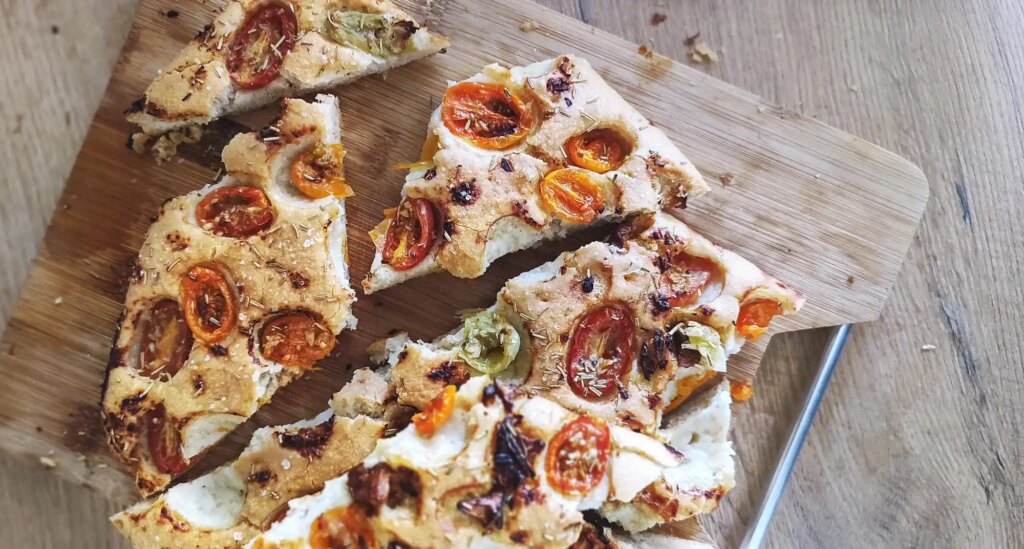
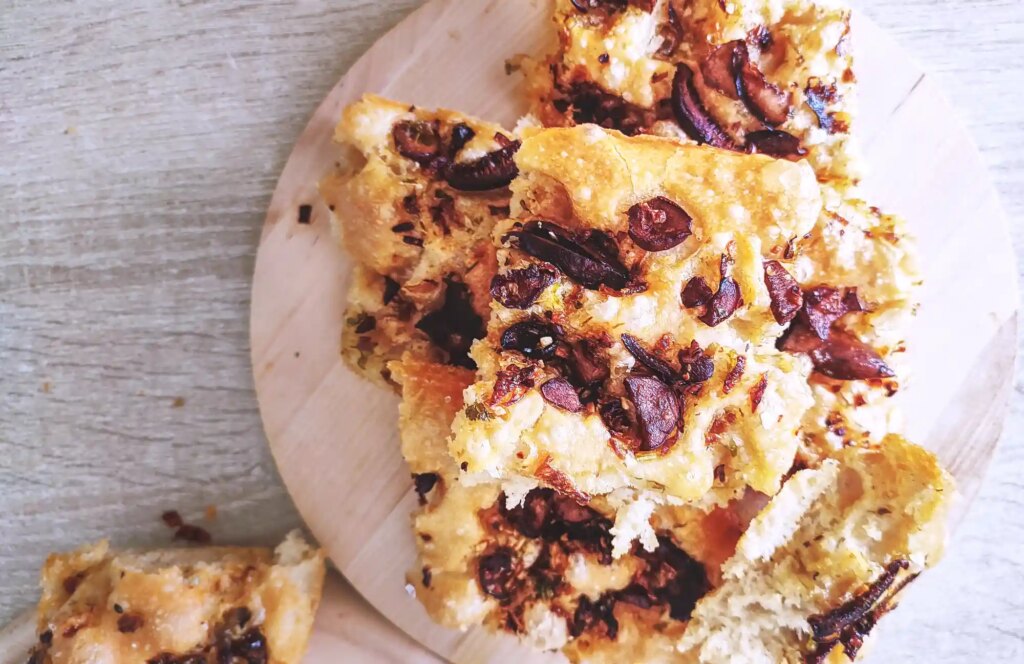
If you like Pizza, consider making Focaccia:
Resources:
papawoodyspizza
italy4.me
europeana

